
The Floor Planning function found in DotActiv software is an essential tool for any retail environment. After all, a well-established floor plan encourages shoppers to visit the greatest amount of space and view the largest number of products. Creating a Floor Plan with DotActiv’s software can also help you to reduce shopper congestion during peak trading hours, which leads to more enjoyable shopping experiences.
The following article addresses what the Floor Planning function is, how to use it as well as the problem that it solves.
What is the Floor Planning Function?
As stated above, the Floor Planning function available in DotActiv software allows you to optimises your space allocation by creating data-driven floor layouts. It is essential to create both data-driven planograms and floor plans to deliver an enjoyable shopping experience. In other words, micro space planning (planograms) and macro space planning (floor plans) go hand in hand.
You can also use the Floor Planning function to create a visual representation of your store layout. DotActiv’s Floor Planning function gives you access to many different CAD objects including walls, tellers, gondola blocks and aisle indicators. These functions ensure that you have all the tools you need to create the perfect floor plan.
As for the requirements needed to create the perfect floor plan, there are four. These requirements can take the form of questions:
Firstly, do you understand the various roleplayers? Understanding who your roleplayers are can streamline communication and ensure you get the information you need when you need it. Secondly, do you know the roles for your categories? Your category roles give you an idea of the size of each department and what your store should look like.
Thirdly, do you have access to your store data? The store data that you require includes market-related data such as store name, store code, store format and store type. You will also need to understand your category-based clusters to ensure that you can make the correct floor planning decisions. Your category-based clusters give you an understanding of the size of your store, departments and categories.
Finally, are your planograms linked to your floor plan? Inserting gondola blocks on your floor plan requires you to understand the number of drops on each planogram. Therefore, having access to your planograms is essential.
![]()
How do you use the Floor Planning Function?
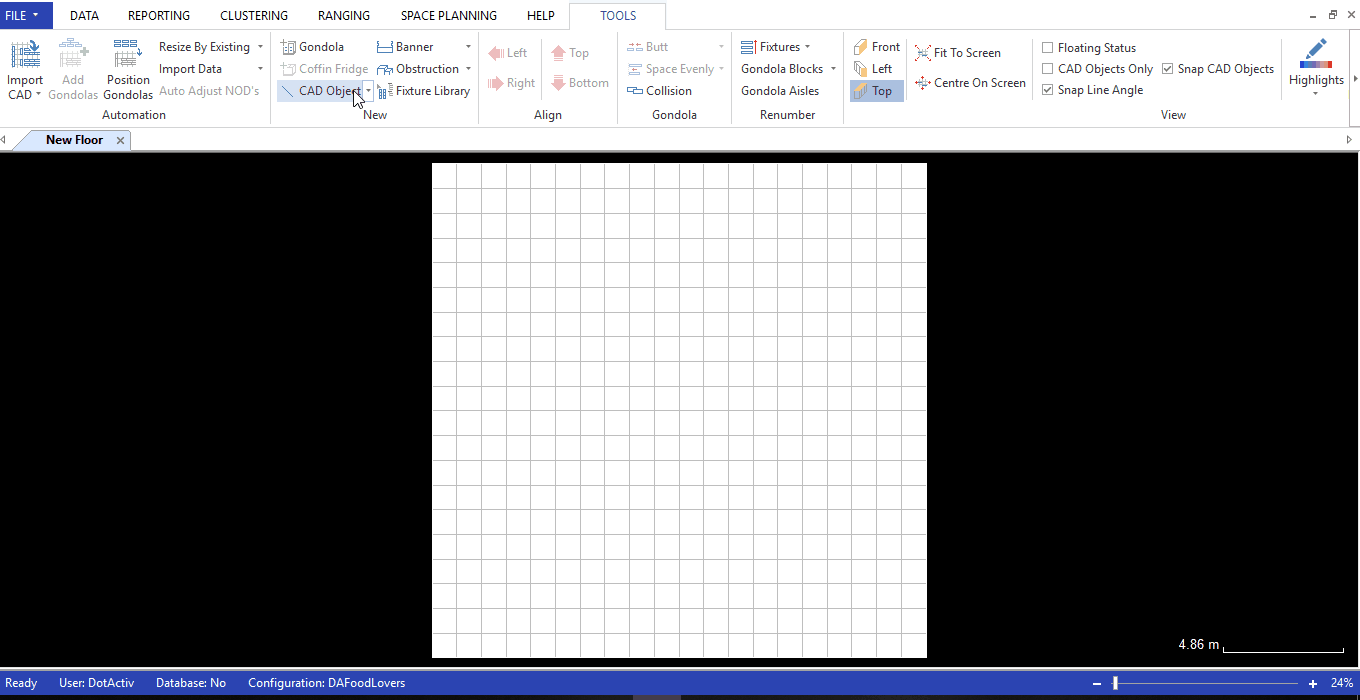
To begin using the Floor Planning function, navigate to the Space Planning tab in DotActiv software and select ‘New Floor Plan’. The floor planning properties page will open.
Here, you can set the size of your floor. Ideally, setting the size of your floor should happen before you begin adding any CAD objects. That is to ensure you build your floor plan to scale. You can also change the colour of your floor plan grid as seen in the GIF below.
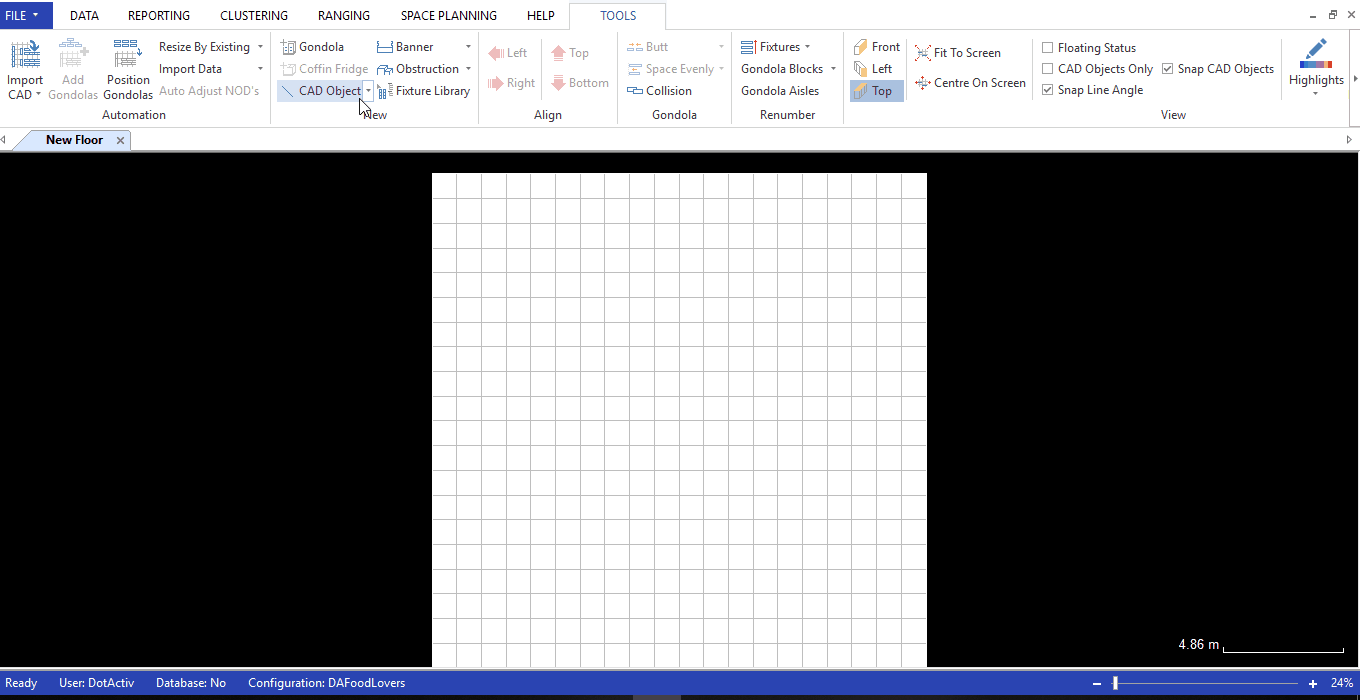
On the tools ribbon under the new section, you can see the CAD objects available to you. Usually, the first step in building your floor plan includes adding your store walls. In the drop-down menu of the CAD objects, select ‘Wall’. From here, click on your floor plan to secure your starting point. With each click, you can change the position of your wall as seen in the GIF below.
When you right click on a line, there are a few options available to you. You can choose to display the label and label position. You can also change the line type to a door, line, curved line or window. Alternatively, you can select ‘Insert Object’ where you can choose the object type, position and size thereof.
You can also add a teller which determines the pay points of your store. Simply select the teller icon in the CAD drop-down menu and select a position on your floor plan. With each CAD object you add, you can reposition as required as well as double click on the object to change its properties.
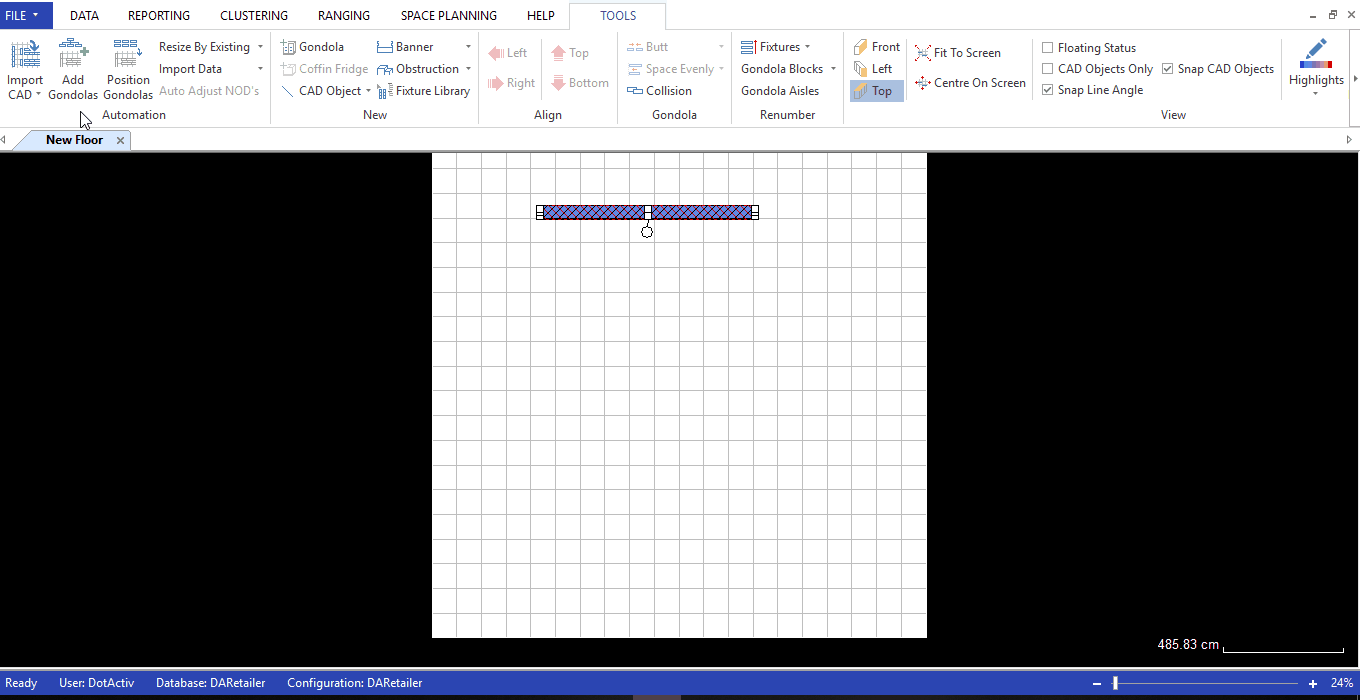
Furthermore, you can add a gondola block which provides a structure on which to position gondolas and represents a blueprint of your store fixtures. It allows you to work on the floor plan flow before adding your planograms.
To add a gondola block, select ‘gondola block’ from the CAD object drop-down menu. Next, click on the floor plan to determine the position and length of the gondola block. Once you have the correct length, right-click to release the drawing.
By right-clicking on your gondola block, you can access many customised settings. For example, you can determine if you would like to pack your products to the left, to the right or manually. You can also add labels and determine the position of these labels.
Furthermore, you can add a mirror copy of your gondola which replicates your existing gondola and adds a mirror copy. You can also set your gondola colour and rotate your gondola as seen in the GIF below.
Another CAD object that is useful to use is your aisle indicator. Your aisle indicators show the direction of traffic within your store. Determining the path you want consumers to follow when they shop prevents congestion during peak trading hours. By adding aisle indicators, you are also ensuring that your consumers walk through your entire store as opposed to viewing only one or two sections.
You can also use the Floor Planning function within DotActiv software to update your gondolas via clustering to your floor plan. When adding a planogram to the floor plan via clustering within an integrated environment, you do need to set a key market. For example, setting a specific store code. That ensures that you can pull in those planograms linked to the particular store code.
Once done, you can begin adding your gondolas to your floor plan. Select ‘Add Gondolas’ in the automation tab. A pop-up window appears allowing you to add your gondolas by hierarchy as seen in the GIF below.
It is also possible to use the Highlights Function within Floor Planning. To read more about how to use the Highlights Function within Floor Planning, this piece is worth reading.
![]()
What problem does the Floor Planning Function solve?
Floor planning provides many benefits to retailers.
Firstly, creating a data-driven floor plan leads to an optimised space to sales ratio. Space allocation must be driven by business objectives and department strategies to give the best sellers the correct amount of space. That drives the highest sales per selling area which, in turn, increases profitability.
Secondly, creating a floor plan results in reduced store opening costs. When you create a floor plan, you are essentially creating a blueprint of your store and ensuring optimal space allocation. In doing so, you will know the exact fixtures required and how much stock to order.
Thirdly, you can achieve higher trading densities. You can define trading density as the revenue generated for a given area of sales space. The higher your trading density, the more efficient is your floor space. Floor plans create higher trading densities by identifying and removing poor performing products and making room for your best sellers.
Finally, establishing a floor plan reduces floor congestion during peak trading hours. Shoppers want to experience a seamless journey throughout your store and not have to battle crowds. By strategically positioning your best performing categories around the store, you reduce the foot traffic in popular shopping areas during your busiest hours.
Conclusion
DotActiv Lite, Pro, and Enterprise are all different versions of our category management software that allows you to drive category performance. DotActiv Enterprise comes with access to the Floor Planning function. You can visit our online store here or click below for a free demo.