As a retailer, your data is the lifeblood of your business. It helps you cluster your stores, choose which products to stock, and build planograms that encourage shoppers to buy items. However, before you can consider any of these actions, you need to first know and understand how to transfer your data into a platform like DotActiv.
Why? It’s simple. If you’re interested in implementing category management in your retail business, then the ability to transfer data is essential:
DotActiv's data platform helps simplify the category management process, making your data more accessible so you can make smarter business decisions.
We’ll touch on a few of the other benefits below. But the point remains: after transferring your data, you can extract more value from it. So that leads to the next question and the crux of this article. How does data transfer occur in the DotActiv software?

What is data transfer?
Before we explain how you can transfer data to DotActiv’s platform, you must first understand what we mean when we say ‘data transfer’.
Data Warehouse Integration Platform, Integrate.io explains it well:
“Data transfer is the process of copying data from one location to another. The transferred data may be transformed in transit, or arrive at its destination as-is.”
It’s worth noting that when using a network, you’re technically transmitting, rather than transferring data. However, as PC Mag, a leading authority in technology notes, the terms ‘transfer’ and ‘transmit’ are used synonymously.
As we turn to DotActiv’s software and platform, it is important to remember:
We built DotActiv on the idea that each element of the category management process is interdependent and reliant on the others.
We make mention of this interdependence in this article. In it, we used the example of ordering a product to add to or remove from your assortment. When you add a product to your assortment you begin by ordering it, but will only have it once it physically arrives. Likewise, when you remove a product from your assortment but still have stock, it remains on the planogram, for as long as it is still in your store.
As for the benefits of data transfer and using a platform such as DotActiv, there are many. Besides the one we mentioned above, other practical (and financial) benefits include:
- Simplifying the category management process;
- Reducing the time and complexity required for effective data processing;
- Making your data more accessible and useable;
- Reducing labor costs; and
- Reducing costly errors.
Any one of these benefits should be more than enough to persuade you to seriously consider transferring your data from your systems into DotActiv. But how can you achieve this without having to undergo a disruptive change in your business? You’re about to see just how easy we’ve made it.
How do you transfer data to DotActiv's data platform?
At DotActiv, we use Microsoft SQL, which supports any version of SQL Server from 2014 and onwards. Previously, we used Microsoft Access, but we have since phased this out. This is because, as we have continued to optimize and improve our software, the need to support a more advanced database interface quickly became clear, and we chose SQL as our option.
Why SQL Server? While Microsoft Access is used for small applications, SQL is used for medium to large businesses that need a solution for optimised data processing. A perfect fit for our growing needs.
You can read more about the key differences and why we chose the SQL Server of Microsoft Access here.
When transferring data into the DotActiv data platform, you have two options to pick from.
1. You can transfer data manually
The first option you can take is to transfer your data manually. While this transfer method is available to all DotActiv software users, it’ll be used by you if you use our entry-level edition - DotActiv Lite.
This edition allows you to import data from CSV or XLS files. Thus, when looking to import your data manually, you’d use the CSV to Shelf Plan option.
Here’s how you would achieve that:
With the software open, navigate to the Data tab and click on ‘Select’. From the dropdown menu that appears, choose ‘CSV to Shelf Plan, as you can see in the below GIF.
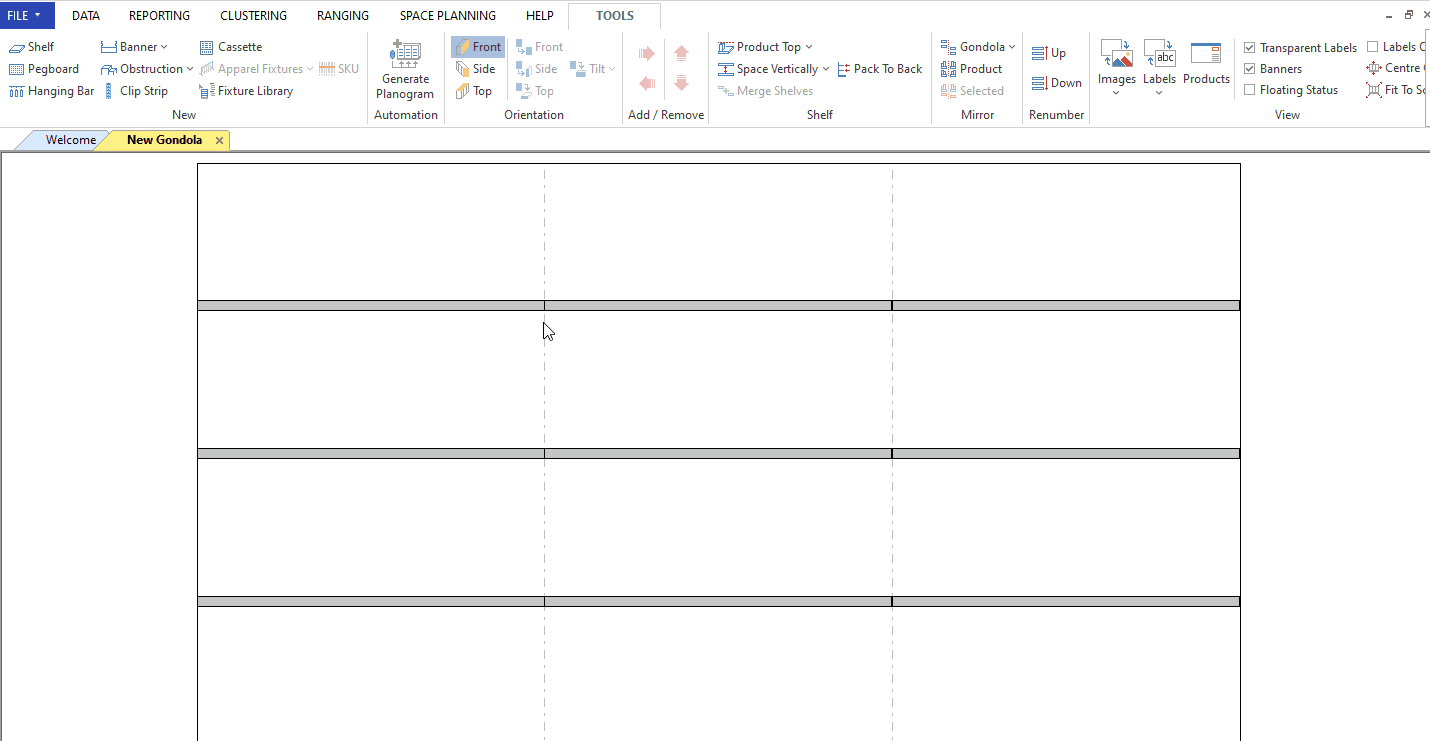 Importing data from CSV to shelf plan
Clicking on it opens the ‘Import’ window. Alternatively, you can also drag and drop the CSV file into the DotActiv application to open the window.
Next, you must map the fields in the CSV manually to the corresponding fields or by clicking ‘Auto Map’.
In this instance, you can also map Fact and Period data in addition to Market and Product. Remember to indicate the Key Product and Key Market field.

Automap the Fact and Period data in DotActiv software
Click on ‘Import’ and then choose whether you want to Update, Insert or Update and Insert the data onto the shelf plan/planogram.
Alternatively, you can also import a CSV to a shelf plan by using the ‘Import To Planogram’ button.
2. You can transfer your data automatically
The second option you can take (and our recommended approach) is through automation by integrating DotActiv into your business. Data integration is available to DotActiv Professional and DotActiv Enterprise users.
You can achieve this integration by using staging databases and Transact-SQL statements or queries via the DotActiv Import Utility.
The DotActiv Import Utility is the front-end application for configuring all imports. It configures which columns in the staging table must go into which value in the DotActiv software.
Here’s how DotActiv approaches data integration:
DotActiv follows an eight-step process that requires input from you as a customer.
We won’t go into all the details of each step. However, the steps include:
1. Scoping Meeting
For the scoping meeting, we will send you all the necessary documentation. That includes:
- The data integration steps;
- A Data Feeds document; and
- A Staging Table document.
Once you have read the documentation, you can send us any questions for DotActiv to answer. Before the meeting takes place, we will prepare answers to your questions. We recommend that you or someone from your business intelligence team, and a representative from infrastructure, attend.
2. Deploy the Server
The next step is to deploy the server. The minimum requirements for the server are as follows:
- 3Ghz dual-core CPU;
- 16 GB RAM; and
- 300 GB HDD.
Why must the server meet these requirements? If it is under-specced on space, new data will stop importing to your hard drive. What’s more, all of the automated work will come to a halt. If it is underperforming on RAM, you will experience performance issues as well.
Our advice - ensure that you have the hardware you need to get the most out of our software.
3. Deploy the DotActiv Database
Once the server has been deployed, we will deploy the DotActiv database. It is usually one database that we deploy to your server. In some cases, it can be two of them, depending on your specific needs.
The primary database is named ‘DA’ and your company name. For example, “DAXYZGrocer”. The reason for this is simple. The ‘DA’ is there in case the DotActiv database is on a shared server. This will allow us to differentiate between the many others that may be there too. Meanwhile, the naming convention makes it easier for you to identify our database from others you may be using.
4. Deploy the DotActiv Data and Planogram Import Utilities
Next, it’s time to deploy the Planogram Import Utility as well as the Data Import Utility. Here, we have unpacked the Data Import Utility.
The Planogram Import Utility extracts the data from your space plans - including product facings, shelves, pegboards, hanging bars, banners, and so on.
This information is then imported to your DotActiv Database where it can be reported on.
5. Populate staging tables
Because we are pulling data from your systems to complete the integration process, you are responsible for populating the staging tables. It is also your responsibility to ensure all information is populated accurately and timeously.
It’s worth noting that when setting up and maintaining scripts, DotActiv doesn’t get involved directly. However, should you have any questions as to the content of the data and the staging table and how it works, we will be on hand to happily assist you.
6. Testing
With your staging tables populated, DotActiv will conduct preliminary testing. That includes the necessary sense checks to ensure it meets all requirements.
Once the data is imported into the DotActiv database, we’ll test again.
This testing includes:
- Looking at the data; and
- Ensuring it matches what’s in the staging tables.
We also perform basic application functionality. This is to ensure the application works as it should with the database. As the server is in your environment, it is your responsibility to ensure it is both stable and accurate. This will allow you to be connected at all times, getting the maximum benefit from the solution.
7. Sign off
When it comes to signing off, the responsibility falls on both DotActiv and you. The integration hand-over document includes information on the following (which you must check off to complete the process):
- Mappings;
- Validation Reports; and
- Configuration Settings (for your user application).
If you find any issues, you can let us know and we can correct the errors quickly and easily.
8. Go live
Once you are happy and sign off on the integration process, you are running live. Thus, you can and should treat the system as live production at all times. It is now no longer a test site so you can’t manipulate the data. If you did, you could damage your data, so chat with us before considering doing so.
You can now experience a seamless flow of data between your system and DotActiv’s data platform.
Conclusion
With the data that you collect around your retail business allowing, you to achieve short- and long-term success, it is important to remember that collecting this data is only the first step. You also need to import it into a specialized platform that can help you make better sense of it.
A good example of a specialized platform is DotActiv. By transferring your data into DotActiv, you can make smarter business decisions, which will inevitably lead to future growth. Just another solution by DotActiv.
Looking for help?
DotActiv's category management platform unifies the salient elements of the category management process through best-of-breed software and powerful two-way integrations. You can book a complimentary custom exploratory meeting with a DotActiv expert here or visit our online store here.